
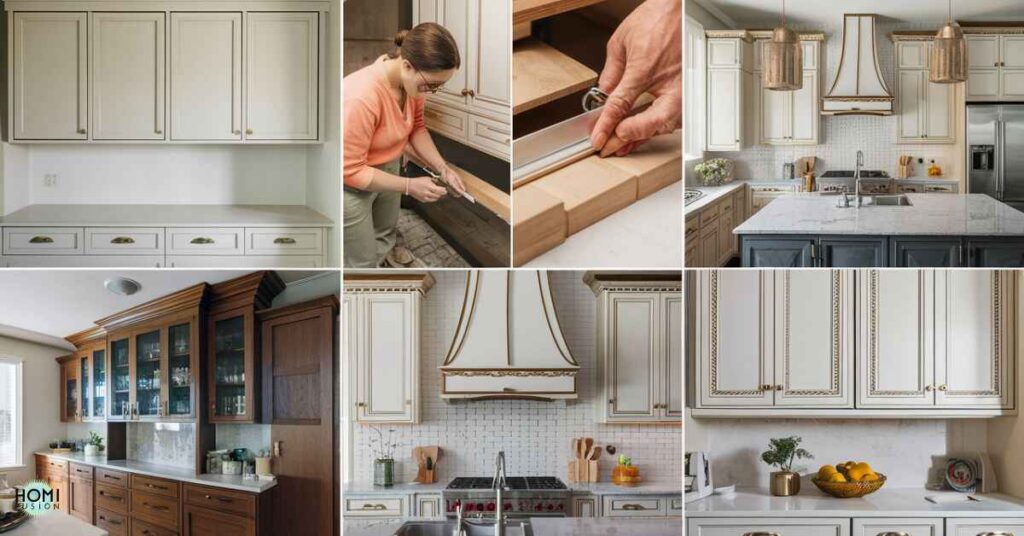
If you’re feeling uninspired by your kitchen’s dated, plain cabinets, there’s an easy solution – add decorative trim! A few well-placed strips of trim can instantly boost visual interest and create a whole new look. As someone who gave this DIY project a try, let me tell you it makes a huge impact for very little money or effort.
My kitchen cabinets were just basic boxes – functional but totally forgettable. By adding some affordable trim pieces, I was able to enhance their style dramatically for around $100 in materials! Let me show you exactly how I did it and how you can replicate these stunning results yourself.
Why Add Trim to Your Kitchen Cabinets?
There are so many great reasons to consider adding decorative trim to your kitchen cabinets. It is a low-cost, high-impact way to update their look:
💡 Enhances Style & Visual Interest: Plain cabinet fronts can look boring and bland. Trim instantly adds architectural detail, dimensions, and design elements to catch the eye.
💸 Cost-Effective Cabinet Transformation: Replacing all your cabinets can easily run $10,000+. Adding trim offers a custom, built-in look for a fraction of the cost.
👷♀️ Easy Beginner DIY Project: This project is very doable for DIYers of any skill level to tackle over a weekend.
💪 Adds Dimension & Character: Varying trim styles like shaker or mission can quickly elevate flat cabinet fronts and make them appear high-end.
What Tools & Materials Do You Need?
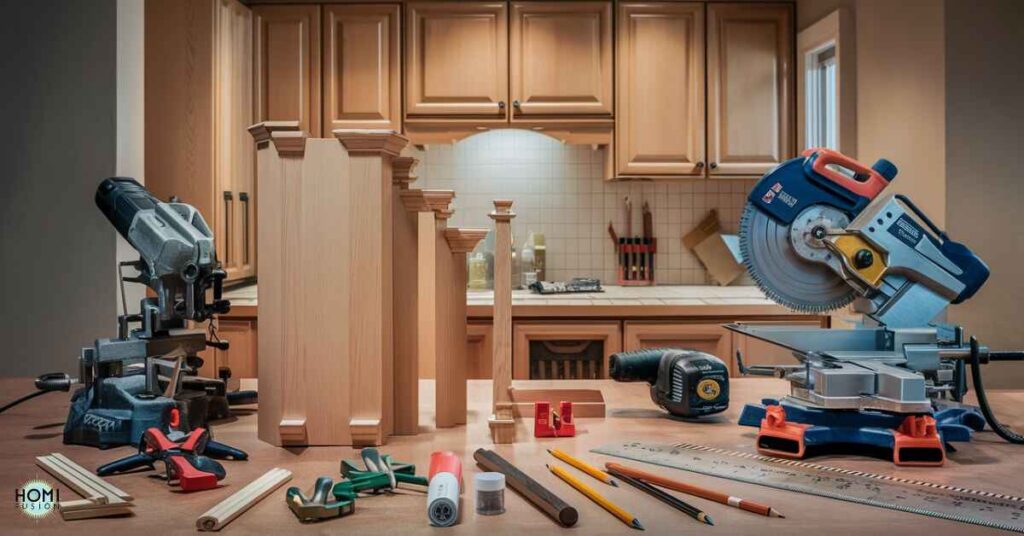
To DIY this cabinet trim project, you’ll want to have these tools on hand:
- Miter Saw – For accurately cutting the trim pieces to size and angle
- Drill – Used with a countersink bit to create space for nail heads
- Nail Gun – Allows trim to be secured seamlessly (hammer works too)
- Putty Knife – For applying wood filler over any nail holes
- Sandpaper/Sanding Block – To smooth surfaces and prep for a flawless paint job
- Paint Brushes & Rollers – For priming and painting the finished product
As for materials, you’ll need:
- Decorative Wood Trim Pieces – Look for varieties like square-edge or cove molding
- Wood Glue – Helps hold trim securely in place along with nails
- Finish Nails – Use 4d-6d size nails to attach trim
- Wood Putty/Drywall Compound – For filling any gaps or holes around nails
- Painter’s Caulk – Seals interior edges for a seamless, built-in appearance
- Cabinet Paint/Stain & Primer – Tied together the new trim and cabinets
The type and dimensions of trim will depend on your specific cabinet sizes and desired style. Cedar, pine and oak are all good options.
Read this blog
How Long Does It Take To Install Cabinets?
How to Add Beautiful Trim to Kitchen Cabinets?
Now here are the full step-by-step instructions I followed to complete this easy cabinet transformation! I’ve included some handy tips along the way too.
Prep Work
- Remove Cabinet Doors & Hardware: Take off all hinges, handles and doors, keeping hardware together and labeling doors so you can reinstall correctly later.
- Clean & Lightly Sand Surfaces: Use a degreaser and lightly sand all cabinet boxes and door fronts to help the new paint adhere well.
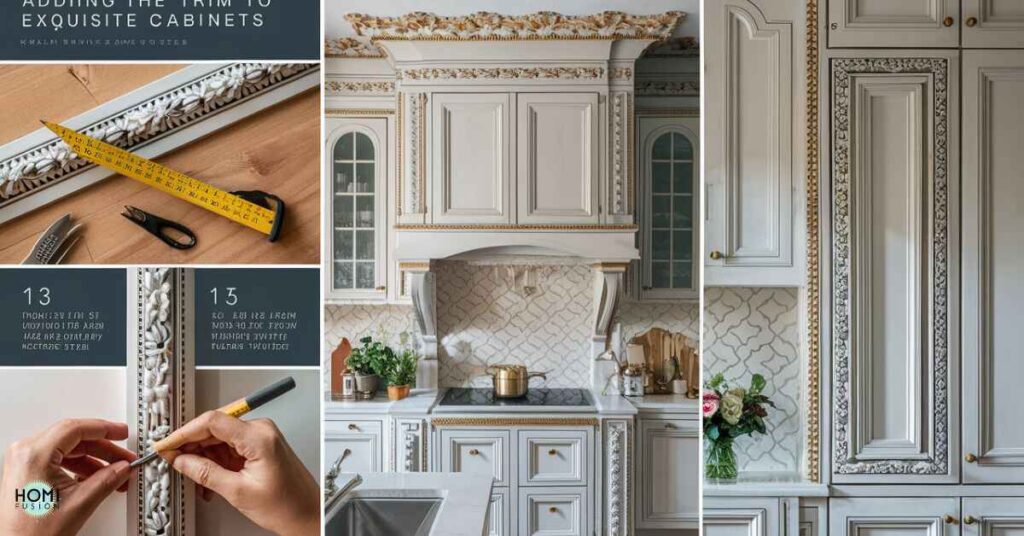
- Measure & Cut Trim Pieces to Size: Lay out trim pieces to plan the design, measuring all sides. Then use a miter saw to cut pieces to the proper length and angle.
Pro Tip: Measure at least twice per side to ensure accuracy before cutting!
- Label Door Locations: As you remove cabinet doors, clearly label the inside with its location (top left, bottom right, etc) so you can easily reinstall later.
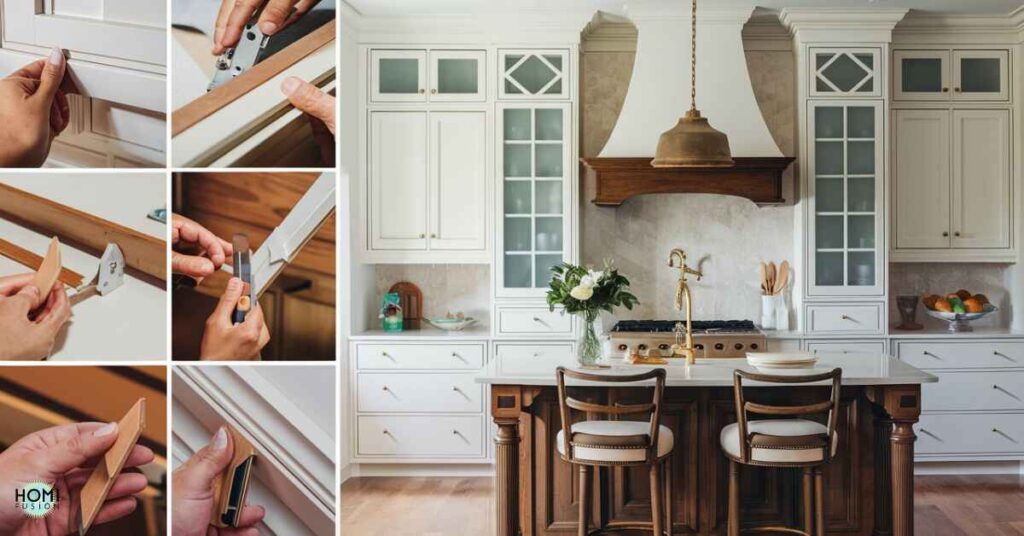
Attach the Trim Pieces
- Apply Wood Glue: Run a bead of wood glue along the back of the trim and onto the cabinet frames where the trim will be attached.
- Nail Trim Pieces into Place: Use a drill with a countersink bit to create space for nail heads, then nail or brad nail the trim into the cabinet boxes/doors. Go slowly to avoid splitting.
Handy Tip: Use painters’ tape as a guide to ensure straight lines for the cleanest look.
- Fill Gaps with Wood Putty: After nails are set, apply wood putty over holes and anywhere there are gaps between the trim and cabinet. Let the putty fully dry.
- Sand Smooth: Use a sanding block to smooth out any raised wood putty and uneven areas so you have a flawless surface for painting.
Paint or Stain Your New Trim
- Caulk Interior Edges: Run a bead of caulk along all interior edges where the trim meets the cabinet for a built-in, seamless appearance.
- Prime Cabinets & Trim: Apply a stain-blocking primer to ensure an even, long-lasting finish.
- Paint or Stain to Desired Finish: Once primed, paint or stain the cabinet boxes, doors, and new trim pieces. A semi-gloss or satin paint offers a nice balance of durability and appearance.
Consider colors like crisp white, light gray, soft blues or warm wood stain to modernize your space.
- Apply Protective Topcoat (Optional): For high-use surfaces, you may want to apply a clear polyurethane or lacquer topcoat for added protection.
- Allow Paint/Stain to Fully Cure: Follow the recommended cure times on your specific products before re-installing doors and hardware, usually 24-48 hours minimum.
Reinstall Doors & Admire Your Work!
- Rehang Cabinet Doors & Hardware: Carefully reinstall each door and put all handles, knobs and hinges back in their original locations.
- Step Back and Admire: Give yourself a pat on the back – doesn’t the new cabinet trim look absolutely stunning? What a difference some simple trim can make!
Pro Tips for Gorgeous Cabinet Trim Results
To ensure professional-looking results on your cabinet trim project, keep these tips in mind:
✨ Measure Twice, Cut Once: Precisely measuring every cabinet and trim piece will prevent unsightly gaps or misaligned trim. Take your time!
🖌️ Use Painter’s Tape: Secure painter’s tape along all trim edges to ensure crisp, clean lines when painting or staining.
🛠️ Work Slowly & Carefully: Rushing risks splitting wood, sloppy cuts or misaligned trim. Take your time for flawless results.
🤩 Consider a Fun Finish: Lightly distress trim with sandpaper or age it with stain for a vintage or farmhouse style.
🔦 Install Under-Cabinet Lighting: New trim will really pop when you add sleek under-cabinet lighting to highlight all those gorgeous details.
Popular Cabinet Trim Styles
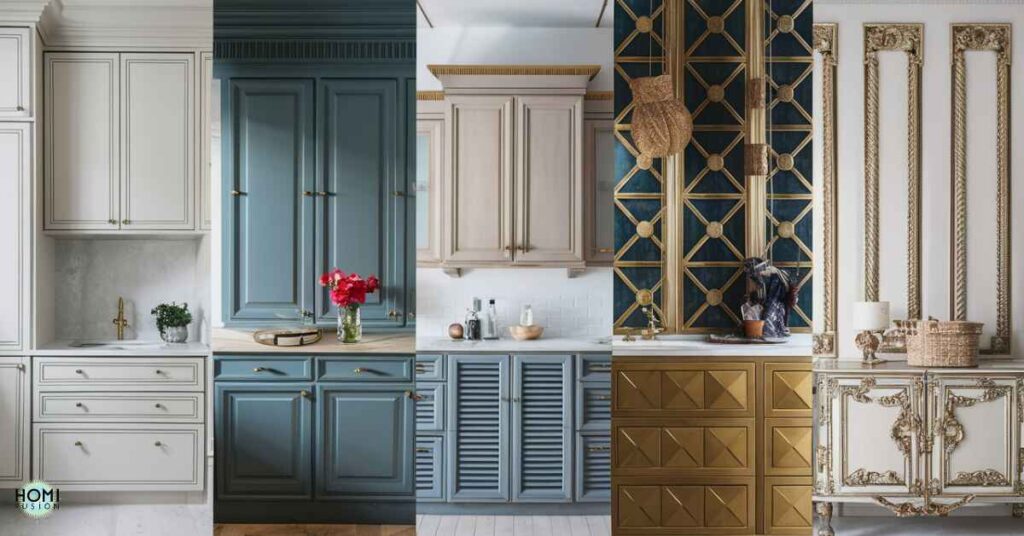
One of the best parts of this project is that you can completely customize the look with different trim styles. Options range from traditional to modern:
Shaker/Mission Style: A simple, timeless trim design featuring clean lines and a rectangular profile.
Craftsman/Arts & Crafts: More ornate wood trim elements and heavier profile for a cozy, classic aesthetic.
Modern/Contemporary: Sleek, minimal trim with a simple flat or beveled profile to complement a chic, modern kitchen.
Classic/Traditional: More intricate, ornamental molding styles often featuring coves, curves, and decorative profiles.
No matter which style you choose, adding trim allows you to customize your cabinets to perfectly suit your kitchen’s design aesthetic.
Also read:
How Many Hinges Per Cabinet Door?
It’s Time to Upgrade Those Cabinets!
I hope this guide has you feeling inspired and confident to tackle adding decorative trim to your own kitchen cabinets. As you can see from these before and after photos of my own project, it makes an absolutely incredible difference:
For the small investment of $100 or so in materials and tools, adding cabinet trim is hands-down one of the most affordable ways to dramatically upgrade your kitchen’s style. So what are you waiting for? Grab some trim and get ready to transform your cabinets from drab to fab!
With some simple DIY skills and creativity, there are so many possibilities for transforming your kitchen into the stylish space you’ve been dreaming of!
Frequently asked questions
How to attach trim to cabinets without nails?
Use wood glue or construction adhesive for a strong bond without nails.
How to add trim to bathroom cabinets
Measure and cut trim pieces, then attach with wood glue and clamps.
What is the best glue for cabinet trim?
Polyurethane-based or PVA wood glue is ideal for cabinet trim.
How do you attach trim pieces?
Apply wood glue to the trim, position it, and secure with clamps until dry.
Conclusion
Adding decorative trim to your kitchen cabinets is a cost-effective and impactful way to transform their appearance. With basic tools and materials, you can create a custom, high-end look for around $100.
This DIY project is accessible for beginners and can be completed over a weekend. By carefully measuring, cutting, and installing trim, then painting or staining, you’ll achieve stunning results. Enhanced style, added dimension and visual interest make this a worthwhile investment.
Get inspired, gather your supplies and elevate your kitchen’s design with beautiful, personalized cabinet trim. Your transformed kitchen will look sophisticated and refreshed.