Have you ever eagerly painted kitchen cabinets, only to have the new paint start chipping and peeling within months? Yeah, me too-a total nightmare. The culprit? Improper cleaning and prep work. Grimey cabinets are painting’s worst enemy.
But fear not! This comprehensive guide will walk you through precisely how to clean kitchen cabinets for painting – the right way. By investing a little extra elbow grease upfront, you’ll ensure a silky smooth finish that lasts for years. Let’s dive in!
Why Cleaning Cabinets Before Painting is Crucial
Failing to thoroughly clean cabinets before painting is like slapping makeup on without washing your face first. The new paint simply won’t adhere properly to greasy, grimy surfaces. Inevitably, it’ll start chipping away in no time, leaving you with an unsightly mess.
Even tiny amounts of grease, cooking oil residue, stuck-on food splatters, or household cleaners lurking on cabinet frames act like a force-field against paint adhesion. The tiniest bits of grit or dust can also create bumpy, uneven surfaces that show through fresh paint.
So while it’s tempting to skip this dirty work, thoroughly degreasing and cleaning cabinets is absolutely critical for long-lasting results. Think of it as an investment – some quality time now saves huge painting heartbreak later!
Assemble Your Cabinet Cleaning Arsenal
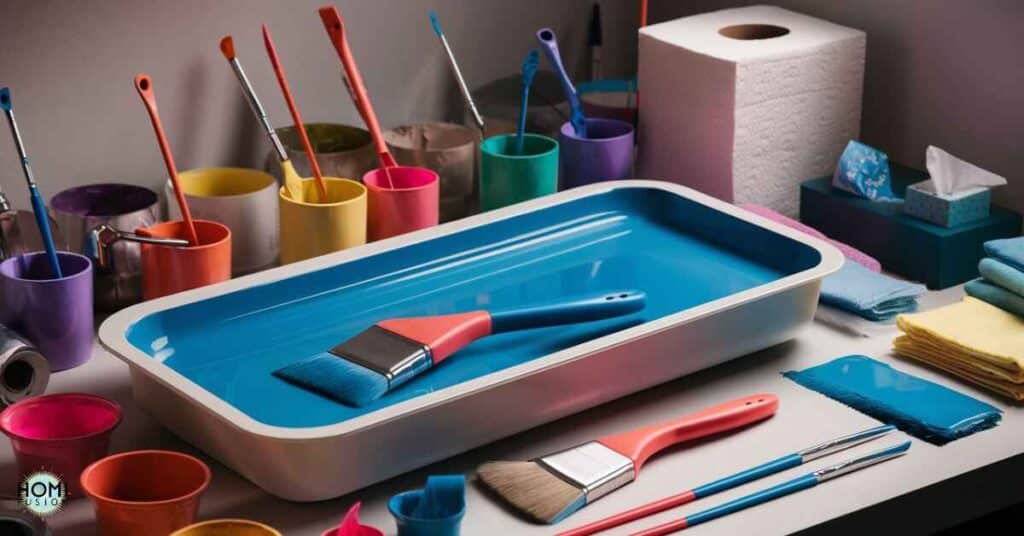
Before starting, gather all the necessary supplies. Having these ready prevents delays and frustrating interruptions mid-clean:
Cleaning Supplies:
- Degreasing solution (I highly recommend Krud Kutter)
- Scouring pads (green or blue abrasive type)
- Cleaning rags (lots of clean, absorbent cloths)
- White vinegar and baking soda (for odors/stains)
- Plastic buckets/spray bottles
- Rubber gloves
- Drop cloths or plastic sheeting
Repair Supplies:
- Putty knife and wood filler
- Medium (100-150 grit) sandpaper or sanding blocks
- Vacuum with hose attachment
- Painters tape
Checking off this supply list means you’re prepped and ready to knock out cleaning in one focused sweep – no frustrating delays!
Inspect Those Cabinets! (What to Look For)
Do a thorough walkthrough before cleaning to identify potential problem areas. Some things to look for:
Heavy Grease and Grime Zones:
| Common Areas | Description |
| Around stove/oven | Cooking grease and oil splatters |
| Under microwave | Food explosions, smoke residue |
| Behind/under sink | Built-up gunk from cleaning products |
| Cabinet edges/corners | Stuck-on food particles from messy kids/pets! |
“An ounce of prevention is worth a pound of cure. Dealing with heavy soil build-up at the start prevents frustrating bleed-through later.”
Amy Howard, Owner of Amy Howard Home
Other Surface Issues:
- Sticky spills or dried food/drink splatters
- Crayon/marker doodles (if you have little Picassos)
- Candle wax drippings
- Loose cabinet veneer or chipping
- Dents, holes, or other damage
Making note of these areas allows you to pretreat and repair as needed before fully degreasing and sanding. A little reconnaissance prevents nasty surprises!
Time to Get Scrubbing: The Degreasing Process
With your supplies ready and issues identified, it’s time to break out those scrub brushes! Here’s the step-by-step process:
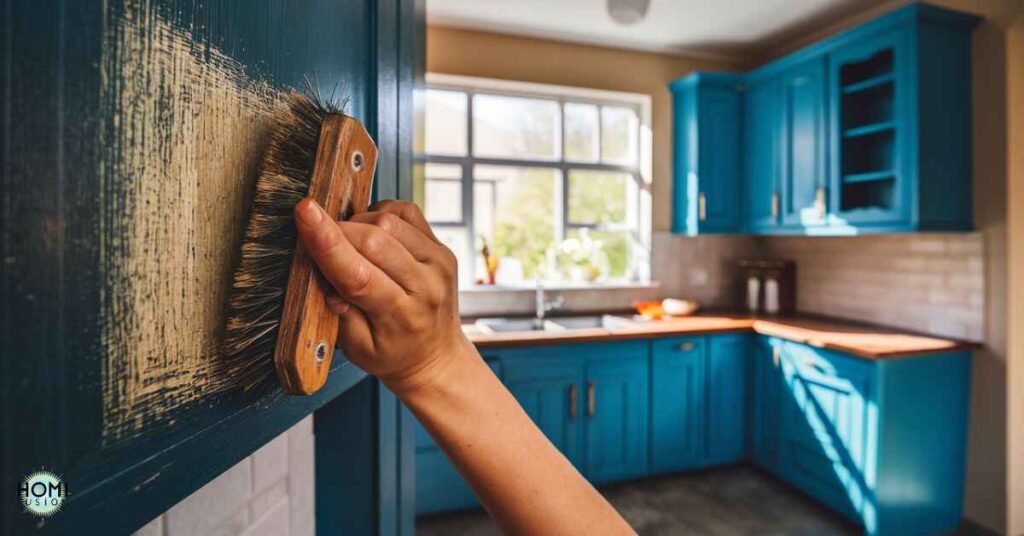
- Mix the Degreaser: Fill a plastic bucket with warm water and add the recommended amount of degreasing cleaner per the instructions. I use around 1/2 cup Krud Kutter per gallon of water. For extra stubborn areas, have a spray bottle with full-strength solution ready.
- Apply Liberally: Spray or wipe the degreaser onto all cabinet surfaces – frames, doors, drawers, interior boxes. Work methodically and don’t miss any spots!
- Scrub-a-Dub-Dub: Using scouring pads, firmly scrub all surfaces in small circular motions. Apply extra muscle to baked-on grime and grease build-up zones.
- Rinse and Repeat: Wipe away the cleaner with clean rags, rinsing frequently with fresh water until no residue remains. For extra stuck-on messes, let the degreaser soak briefly before re-scrubbing.
- Fully Dry: Use clean, absorbent towels to fully dry all surfaces. Any moisture left behind can cause paint adhesion issues.
Pro Tip: Work your way top-to-bottom and side-to-side so drips and cleaner runoff don’t re-contaminate areas you’ve already cleaned. Be sure to really get into those nooks and crannies!
Dealing With Stubborn Stains and Odors
For extra pungent odors or set-in stains, you may need to bring out the big guns:
Musty, Mildew Smells: Give cabinets a wipe-down with undiluted white vinegar, letting it soak in before scrubbing and rinsing. The acid helps break down smelly compounds.
Yellowed, Nicotine Stains: Make a baking soda paste and let it sit 5-10 minutes on affected areas before scrubbing. The gentle abrasion helps lift stains.
Really Baked-On Gunk: For polymerized grease or food stains, carefully use a solvent like mineral spirits or even oven cleaner. Test in an inconspicuous area first and ensure proper ventilation!
Getting rid of lingering grossness now prevents those odors and stains from bleeding through your beautiful new cabinet paint job.
Don’t Skip This Step! Scuff Sanding is Key
Even after degreasing, cabinet surfaces are too smooth for new paint and primer to properly grip. That’s where sanding comes in!
Using 100-150 grit sandpaper or sanding blocks, go over all areas lightly to rough up the surface. You don’t need to sand down to bare wood – just create a slightly grooved texture for optimal adhesion.
How to Sand for Painting
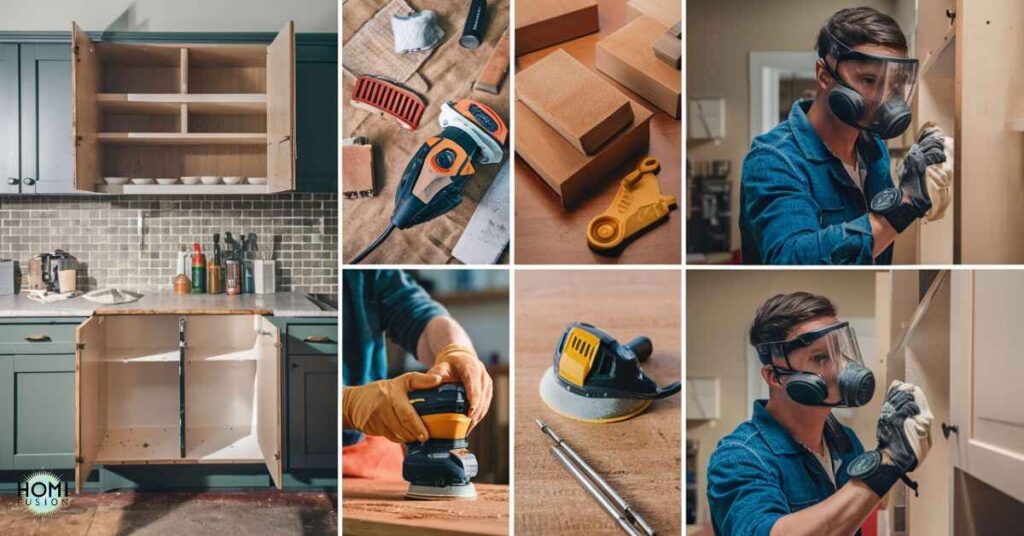
- Start in a back corner and work methodically around door/drawer fronts, frames, interior boxes.
- Use a dry sanding block or rubber sanding pad for flat areas.
- Sandwich paper can help reach grooved or decorative details.
- Sand following the grain direction as able.
- Vacuum up all dust thoroughly before moving on.
Proper sanding helps prevent common paint adhesion issues like chipping, peeling, and bubbling. Don’t get lazy on this crucial step!
Read this blog
Can You Install Cabinets On Top Of Vinyl Plank Flooring?
Repairing Dents, Holes, and Damage
While you’re already in sanding mode, take some time to repair any dings, dents, or holes in the cabinetry using wood filler. Even tiny imperfections can telegraph through paint, so a smooth surface is key.
- Clean out any debris or loose material from the area using a utility knife or putty knife.
- Overfill the area slightly with wood filler. I like Elmer’s Wood Filler Max for its strength and flexibility.
- Use a putty knife to smooth and level the filler flush with the surrounding surface before it fully dries.
- Allow to fully cure per product instructions, then sand the area smooth using your sanding block.
For cabinets with loose or chipping veneer, you may need to remove and re-apply new veneer before painting. Or for heavy damage, it may be best to start fresh with new cabinet boxes. Don’t try painting over excessive issues!
Here’s a continuation of the comprehensive blog post “How to Clean Kitchen Cabinets for Painting Like a Pro”:
The Importance of Proper Priming
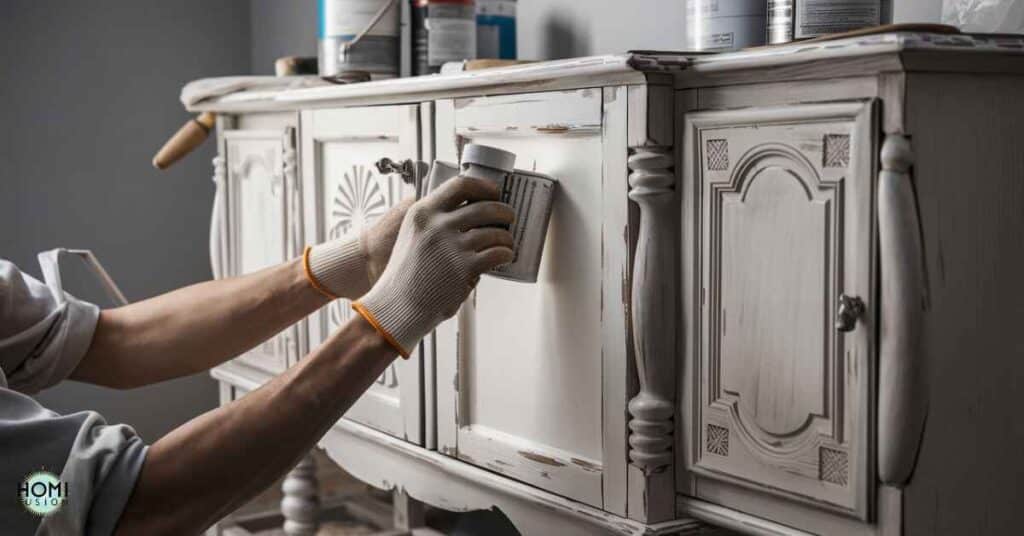
With all that intense cleaning and sanding complete, the next vital step is priming the cabinets. Don’t even think about skipping straight to painting! Primer helps:
1) Increase paint adhesion by providing a gripping surface
2) Block any stains or odors from bleeding through
3) Even out the surface texture and grain for a smooth finish
4) Allow your topcoat of paint to cure properly
So which primer is best for kitchen cabinets? Generally, an oil-based stain-blocking primer like KILZ or Zinsser products are recommended over water-based versions.
Benefits of Oil-Based Cabinet Primers:
- Superior stain coverage over wood knots, water/smoke damage
- Better adhesion to shiny laminates and veneers
- Longer-lasting protection against moisture and household chemicals
- Slow-drying formula allows primer to fully grip porous surfaces
However, be aware that oil-based primers are smellier, more toxic, and require extra cleanup steps. For low odor sensitivity, look for low-VOC formulas labeled for cabinet use.
Proper Priming Technique:
- Ensure surfaces are completely clean, dry, and dull (lightly re-sand if needed).
- Apply primer in thin, even coats using a high-quality brush or spray gun.
- Allow each coat to dry fully per product instructions before re-coating.
- Lightly sand again between coats with fine 220-grit paper for a smooth base.
- Two full primer coats are recommended on cabinets for best results.
Don’t rush the priming process – taking your time ensures every nook and cranny is fully sealed and prepped for a flawless paint finish.
Also Read
How Many Hinges Per Cabinet Door?
Pro Painting Tips (Bonus Section)
Since you’ve come this far, keep a few more professional tips in mind for that final, paint coat:
Paint Selection: For superior durability, opt for acrylic alkyd or “hybrid” enamel paints labeled for cabinets/trim. My favorites are Benjamin Moore Advance and Sherwin-Williams Emerald Urethane.
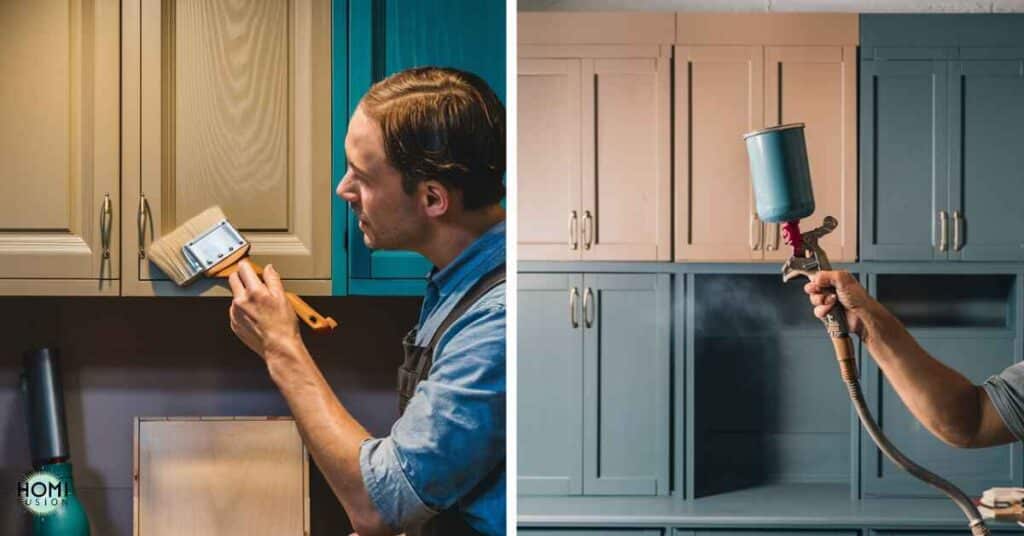
Brush vs. Spray: Brush work allows better control for covering crevices but shows more brushstrokes. Spraying gives a smoother finish but requires more extensive masking. Pick your preference!
Prepping for Spraying: Remove doors/drawers and set up a spray area covered in plastic with a box fan for ventilation. Lightly score surfaces with denatured alcohol for better grip.
Proper Paint Technique: Start with doors face-up, then bases/frames. Two coats minimum with light sanding between. Follow grain direction when brushing.
Reassembly: Allow painted surfaces to fully cure for 3-7 days before reassembling. Check for sticking and lube hinges/glides if needed.
With some elbow grease and close attention to prep details, your kitchen will look practically renovated thanks to silky smooth, hard-wearing painted cabinets! It’s all worth the effort.
Frequently asked questions
What is the best cleaner for kitchen cabinets?
Krud Kutter is highly recommended for cleaning kitchen cabinets due to its powerful degreasing properties.
What is the best way to clean wood before painting?
Clean wood with a degreaser, then sand lightly with 100-150 grit sandpaper to create a smooth, paint-ready surface.
How to degrease kitchen cabinets?
Apply a degreasing solution like Krud Kutter, scrub with scouring pads, rinse with water, and dry thoroughly.
What is the best kitchen cabinet primer?
Oil-based primers like KILZ or Zinsser are best for kitchen cabinets due to their superior adhesion and stain-blocking.
Does vinegar clean kitchen cabinets?
Yes, vinegar can clean kitchen cabinets, especially effective for removing odors and mild stains.
Conclusion
If you take one thing away from this guide, let it be this: skimping on cleaning and preparation steps is the fast track to cabinet painting failure. By thoroughly degreasing, sanding, priming, and painting using quality materials and technique, you’re making an investment that pays off big.
Those picture-perfect, freshly painted cabinets won’t chip, peel, or look shabby in a few short months. Instead, you’ll enjoy a flawless, revitalized kitchen you can be proud of for years to come. So grab those supplies and get scrubbing – your dream cabinets are waiting!

